Vertical shaft inclination directly influences photoelectric theodolite’s target measurement precision, and measurement of vertical shaft inclination is mainly used in photoelectric theodolite non-landing measurement technology. Conventional photoelectric theodolite adopts landing-measurement working mode, which needs strict leveling of the theodolite before measurement. Current leveling method can make theodolite realize vertical shaft technical error less than 3″ and comprehensive measurement error less than 10″. When adopting non-landing working mode, car body support mechanism’s rigidity and interval make theodolite accompanied with a high technical error of vertical shaft, and the error keeps changing over external disturbance. Actual measurement shows that external disturbance such as sunlight, wind and people’s movement, etc. can make technical change of car body vertical shaft over 3′, unable to meet current requirements for measurement precision of photoelectric theodolite. Therefore, works must be done to carry out real-time measurement of theodolite vertical shaft’ shafting error (namely inclination error) and remedy compensation of the measurement results.
Currently, two methods are used for inclination measurement in China: one is installation of self-contained 2D inclination sensor on theodolite base, to measure errors of orthogonal two-direction vertical shaft. Main weak point of this method is that the inclination sensor’s response speed fails to reach the theodolite car body platform deformation speed, the measurement data lag behind car body platform inclination deformation, the data gained are unable to really characterize high-frequency change of car body, and filtering can only induce car body’s low-frequency deformation. The other method is optical non-contact measurement method, namely using two TV self-alignment instruments to monitor car body’s pitching and rolling deformation and timing system to record two-direction data of car body, then carry out compensation for the measurement results with the measurement data, subject to adjustment of the level and the orthogonality of the self-alignment instrument before commencement of the measurement. The method features the strong point of real and accurate results but the weak point of too long preparation time for measurement, unfavorable for engineering requirements for quick readiness and flexible measurement of the measurement system.
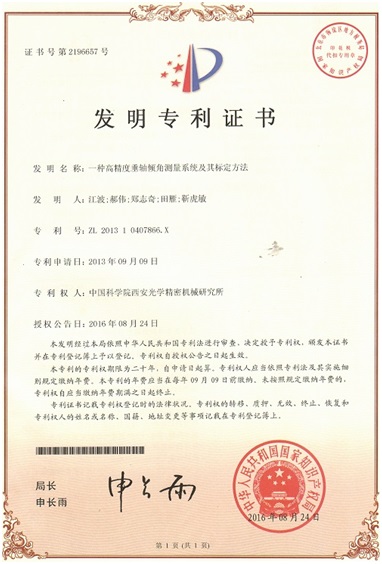
Jiang Bo and Hao Wei, etc. with XIOPM Photoelectric Monitoring Lab invented “a high-precision vertical shaft inclination measurement system and the calibration method”, with the following strong points: 1. The whole system only uses a set of TV self-alignment instrument, reducing the number of components necessary for measurement, decreasing the cost for vertical shaft inclination measurement, realizing quick readiness of equipment and quick acquisition of real data; 2. With the calibration method offered by the invention, simple lab equipment is enough to complete alignment and calibration of the coordinate system of two systems, and one calibration can guarantee longer-time high-precision service, compared to traditional methods which need calibration of equipment before every use, remarkably improving work efficiency; 3. The calibration method makes high alignment precision and can basically make influences of the residual error in coordinate system alignment of two systems on measurement precision mean nothing, developing the complete thought and device of non-landing measurement into a standardized product able to carry out engineering implementation from a theoretical hypothesis.
The method is feasible and reliable, means high economic value and has been granted a patent.


